Attribute Table
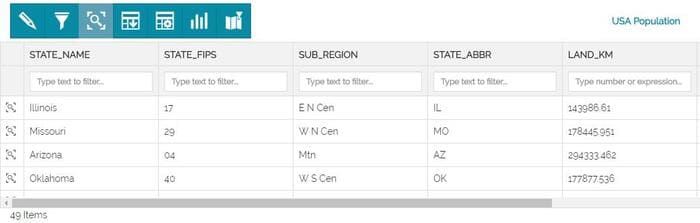
In GIS, the Attribute Table associated to a vector layer is a table that stores tabular information related to the layer. The columns of the table are called fields and the rows are called records. Each record of the attribute table corresponds to a feature geometry of the layer. This relation allows to find records in the table (information) by selecting features on the map and viceversa.
In MapStore, through the  button in Layers Toolbar it is possible to access the Attribute table:
Accessing this panel the user can perform the following main operations:
-
Manage records
-
Set filters
-
Download the grid data
-
Customize the Attribute table display
-
Create Widgets, with the
 button
 -
Zoom to features, with the
 button
Warning
When GeoServer is set to strict CITE compliance for WFS (by default), the feature grid do not work correctly. This is because MapStore uses by default WFS 1.1.0 with startIndex/maxFeatures. This is not strict compliant with WFS 1.1.0 (GeoServer supports it but the request in strict mode is invalid). To solve it un-check the CITE compliance checkbox in the "WFS" page of GeoServer "Services" configurations using the GeoServer web interface
Manage records
The basic Web Feature Service allows querying and retrieval of features. Through Transactional Web Feature Services (WFS-T) MapStore allows creation, deletion, and updating of features.
Warning
By default editing functionalities are available only for MapStore Admin users. Other users can use these tools only if explicitly configured in the plugin configuration (see the APIs documentation for more details). In any case, the user must have editing rights on the layer to edit it (see for example the GeoServer Security Settings).
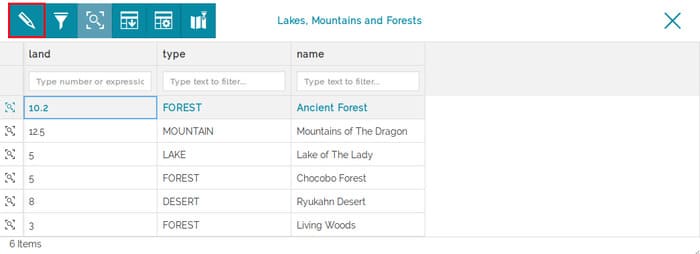
The Edit mode can be reached from the  button in Attribute Table panel, allowing to menage only the layer which the table refers to:
Note
When the Edit mode is enabled only the editing functionalities are available to the user, all other tools are deactivated.
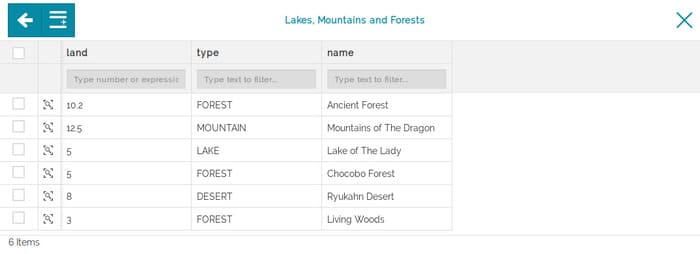
By default, in Edit mode, you can see a panel like that following:
Through the Quit edit mode button  you can stop the editing session to make the other functionalities available again.
Create new features
Once the Edit mode is enabled it is possible to create a new feature by clicking on the Add New Feature button ![]() . After clicking on it the user can fill out the fields and edit the geometry of the new feature:
. After clicking on it the user can fill out the fields and edit the geometry of the new feature:
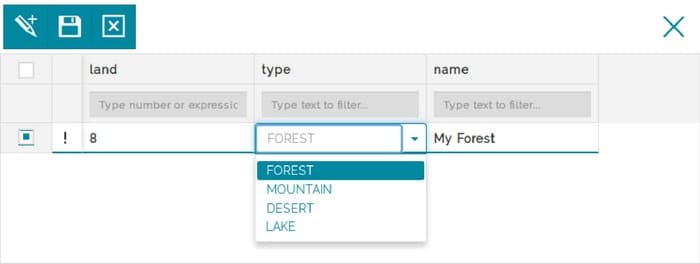
To edit attributes MapStore provides some input fields based on the attribute type, that forces the user to insert a valid value. If the attribute is of type text, MapStore will also show a dropdown menu with the list of the existing values for that attribute to allow a quick selection.
Note
the dropdown menu is available only if the server provides the WPS process gs:PageUnique
The Missing geometry exclamation point  in the second column of the Attribute Table means that the feature doesn't have a geometry yet. It's possible to add it later or draw it on the map before saving:

In order to save the changes made until now, there's the  button, whereas to undo the changes there's the
  button.
Once a new record is created, it's possible to draw a geometry for it, by clicking on the ![]() button that appears once that feature is selected. The process of drawing a new geometry is a little different depending on the layer type:
button that appears once that feature is selected. The process of drawing a new geometry is a little different depending on the layer type:
- For Polygons and Multipolygons layers, each click on the map add a new vertex (the minimum is 3). Once the vertex are set, it is possible to change the shape by creating new vertices or dragging the existing ones:
- For Lines and Multilines layers the shape drawing function works more or less in the same way. The only difference is that you need at least two vertices to draw a line and not three like for polygons:
For Points layers a point is drawn for each click on the map
The user is always allowed to delete the drawn shape through the  button.
Editing and removing existing features
In order to update an existing feature, it is necessary to start the Editing session by clicking the Edit mode icon button. If the goal is to update the Attribute Table records, the user can simply select them and type the desired text into the input field. However, it is also possible to modify the geometries associated with a record by moving the existent vertices and/or creating new ones directly from the map.
With a click on Save changes these changes will be persistent.
In order to delete an existing feature, the user can always, in Edit mode, select that feature and click on the  button.
Set filters
In the Attribute table it is possible to apply two types of filter (better explained in the Filtering layers section):
Those filters, once applied, are immediately visible on the map because the Sync map with the filter button  is enabled by default. Once you disable it
  the filter will persist in the Attribute table but the map will not be synchronized with it.
Download the grid data
Form the Attribute table it is also possible to download the grid data through the  button. The following window opens:
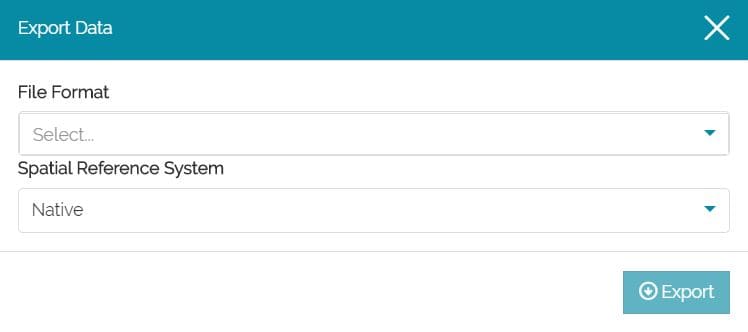
From this window it is possible to set:
-
The File Format (
GML2,Shapefile,GeoJSON,KML,CSW,GML3.1orGML3.2) -
The Spatial Reference System (by default
NativeorWGS84)
With a click on the  button and the browser will download the file.
Customize Attribute table display
MapStore allows the user to customize the fields displayed in Attribute table mainly in two way:
- Ordering the records in alphabetic order (if it's a text field) or from the minimum to the maximum value and viceversa (if it's a numerical field):
- Deciding which columns to show and which to hide through the
 button: