Table of Contents (TOC)
The Table of Contents, briefly TOC from now on, is a space where all the layers and the layers groups are listed. Through this panel it is also possible to carry out the following operations:
-
Add and remove layers and groups
-
Perform a search between layers
-
Change the position (and consequently the display order in map) of layers and groups
-
Set some display options directly from the panel
-
Manage layers and groups and query layers through the toolbar actions
Add and remove layers and groups
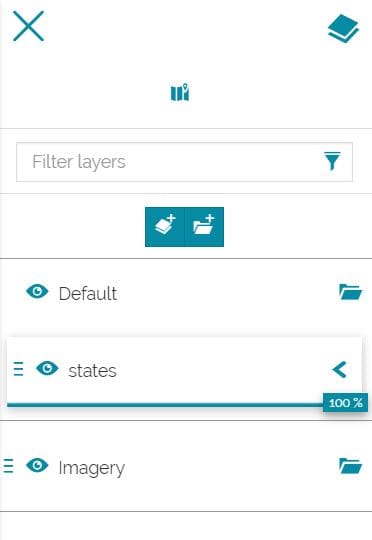
The user can access the TOC with the Layers button  on the top-left corner of the map viewer. For example, in a new map, the following panel appears:
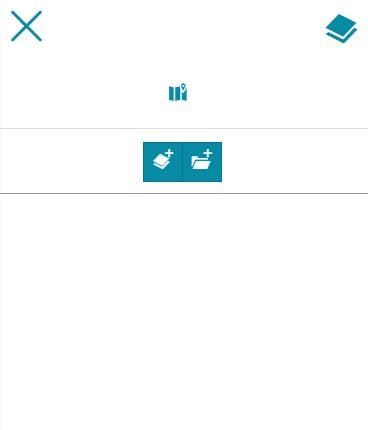
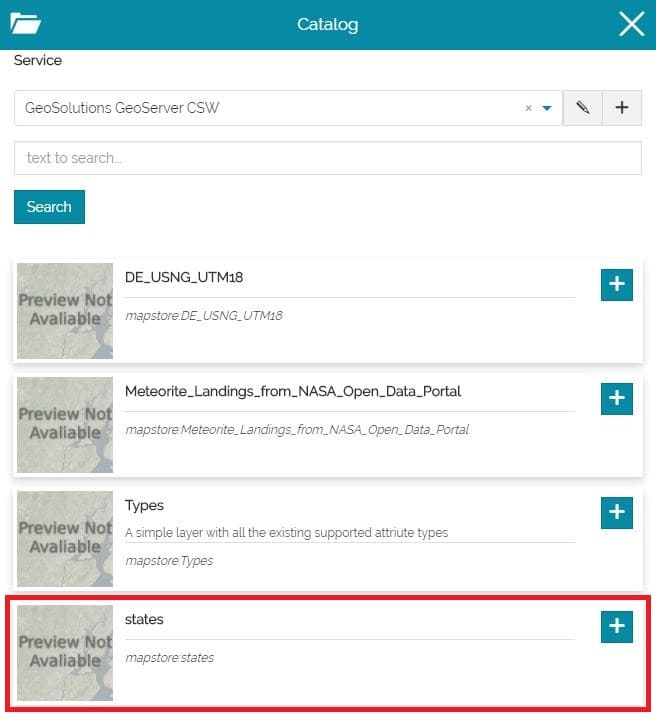
The Add Layer button  opens the Catalog, a panel where it is possible to choose the desired layer and add it to the map with the Add to Map button
  :
:
Once the layer is added to the map, the result should be like the following:
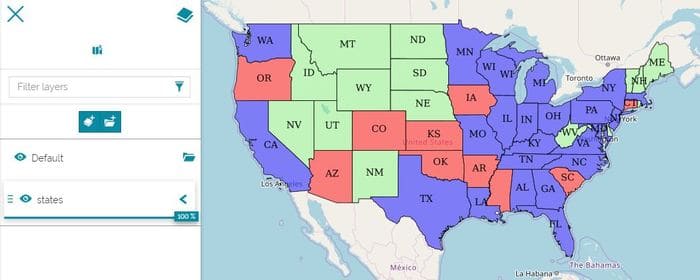
Note
When a layer is added for the first time to the TOC, without any group present, the Default group is created. This group host all the layers that don't belong to a specific group and can also host sub-groups within it.
In order to add a new group, clicking on the Add Group button  the following window opens:
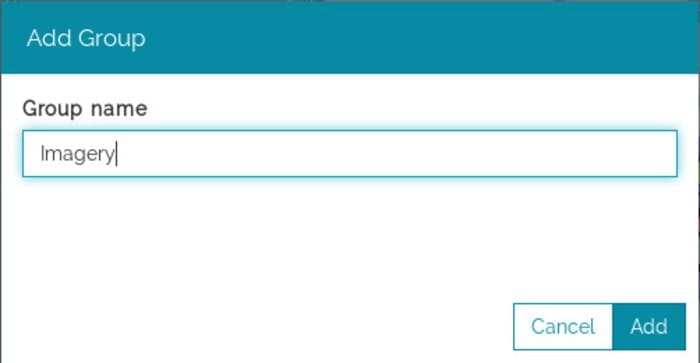
Once the name of the group is typed, with the  button the new group is added to the TOC.
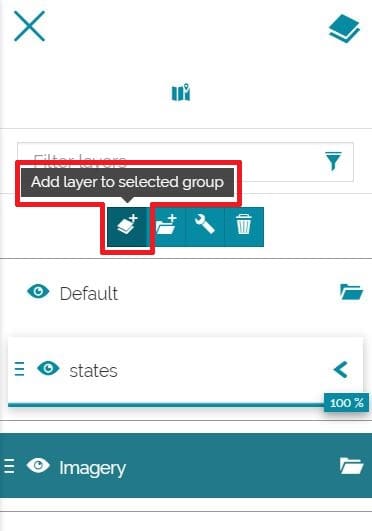
In order to add a new layer to a specific group, it is possible to select that group and click on Add layer to selected group :
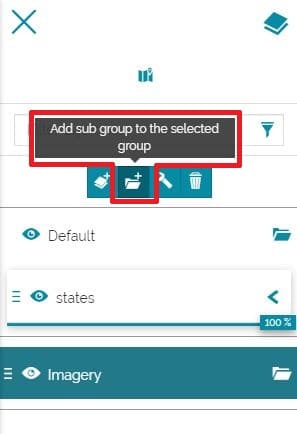
In order to add a subgroup inside a specific group selected, the user can click on the Add sub group to the selected group button (maximum 4 subgroup levels are allowed):
Layers and groups can be removed selecting them and clicking on the Remove button  present in the toolbar of each selected layer and group.
Warning
When a group is removed, also all the layers and subgroups associated with it will be removed.
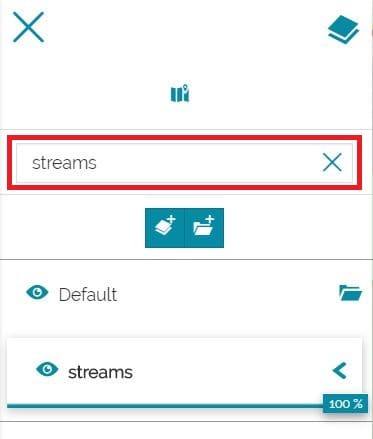
Search for layers
With the TOC it is also possible to perform a search between the added layers. This operation can be done simply by typing the name (o part of it) of the layer in the search bar:
Choose layers and groups position
With the drag and drop it is possible to change layers position inside the same group, but also moving them between different groups. Once the Default group is created, all the layers without a specific group are automatically added to this one. Changing layers position with the drag and drop, for example, it can display like the following:

Groups and sub-groups, no matter their level, can be nested inside other groups and sub-groups, or can be separated from their parent-level to create new main groups. These operation can be performed, again, with the drag and drop function.
Warning
The only constraints applied to the groups manager refer to the Default group (each layer added to the map the first time is included in that group). Drag and Drop operations are not allowed for the Default, but it's allowed to rename it or to nest groups or sub-groups inside it.
Layers position can also be determined through the Selected layer settings button  available in the toolbar that appears once a layer is selected. This button opens a panel where the user can choose the destination group (or subgroup):
Display options in panel
Directly from the TOC panel, it is possible to set different types of display options. In particular, for layers, it is possible to:
-
Toggle layers visibility by switching on
 and off
  the "eye" icon to the left of the layer name
 -
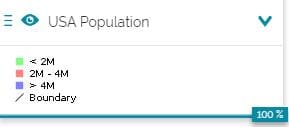
Expand or collapse the legend by clicking on the
 icon. The width and height property of the legend can be overridden via Legend options under Display tab.
 -
Control the transparency in map by scrolling the opacity slider
Note
When the user switch off the visibility of a layer, also the group where that layer is nested change the "eye" icon in (no matter if other visible layers are present in that group)
With groups there's the possibility to:

-
Expand
 or collapse
  the list of layers or subgroups nested inside it
 -
Toggle groups visibility by switching on
and off the "eye" icon to the left of the group name
Note
When the user switch off the visibility of a group, also the visibility of all the layers and subgroups nested inside it will be automatically switched off.
Toolbar options
Once a layer is selected the following toolbar appears:
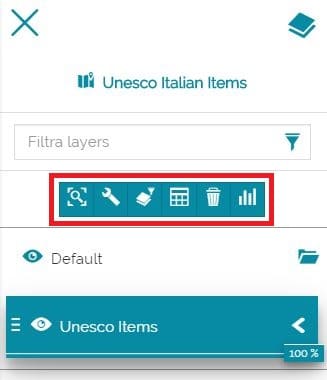
Through this toolbar it is possible to:
-
Zoom to selected layer extent

-
Access the selected Layer Settings
-
Set a Filter for that layer

-
Access the Attribute Table

-
Remove the selected layer
-
Create Widgets for the selected layer

Selecting a group the toolbar is the following:
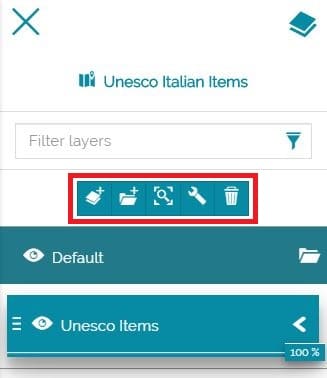
In this case the user is allowed to:
-
Add layer to selected group
-
Add sub group to the selected group
-
Zoom to selected layers extent
(in order to zoom the map to all layers belonging to the group) -
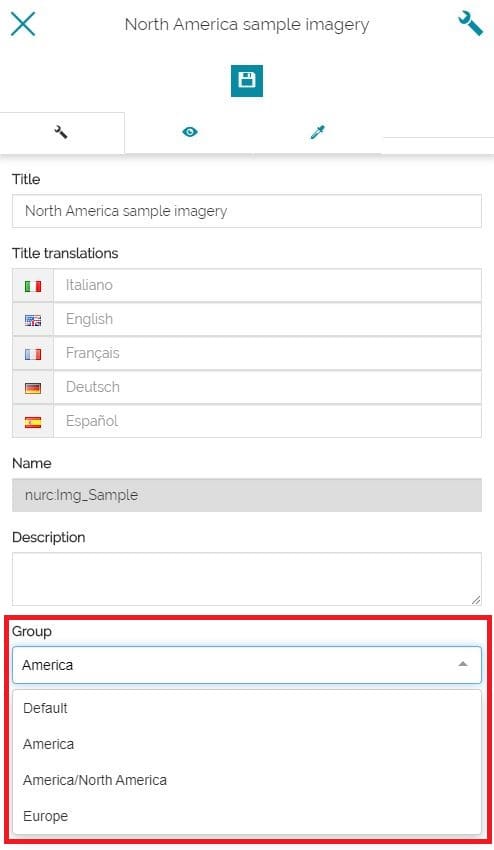
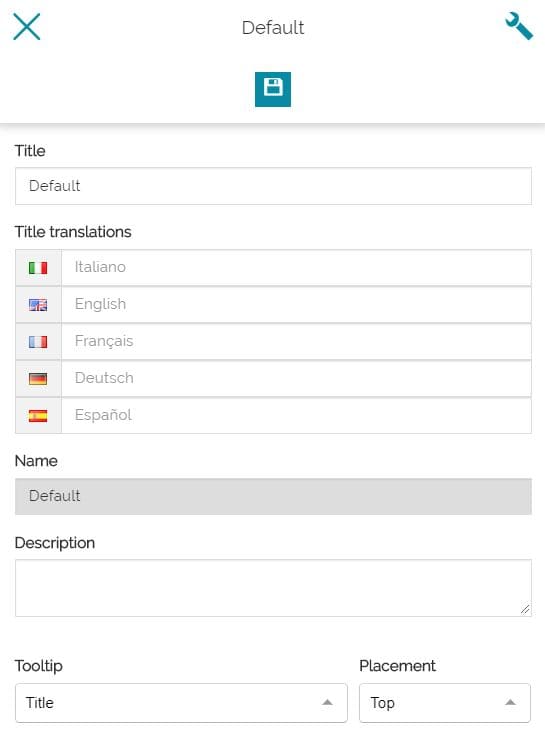
Access the Selected group settings
where it is possible to set the group title and the translations, take a look at the group ID name, add a description and customize the Tooltips visualization (more information can be found in Layer Settings section)
- Remove selected group and its content
Once the changes have been made, it's possible to save them through the Save button ![]() .
.
Note
Information such modified will be persisted only within the current user session. In order to make thiese kind of changes persistent also for other user session, the whole map context needs to be saved.