Layer Settings
In this section, you will learn how to manage the layer settings in terms of general information, display mode, style and feature Info.
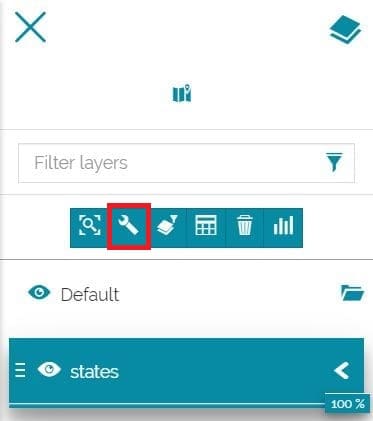
Since a layer is added to the TOC it is possible to access its settings with the dedicated button  that appears selecting a layer:
The layer settings panel is composed of four sections:

-
General information
-
Display
-
Style
-
Feature Info
Warning
For WMTS layers the Style and the Feature Info sections are not implemented. Moreover the Display section is limited to the Transparency level parameter.
General information
By default, as soon as the user opens the layer settings panel the General information section appears:
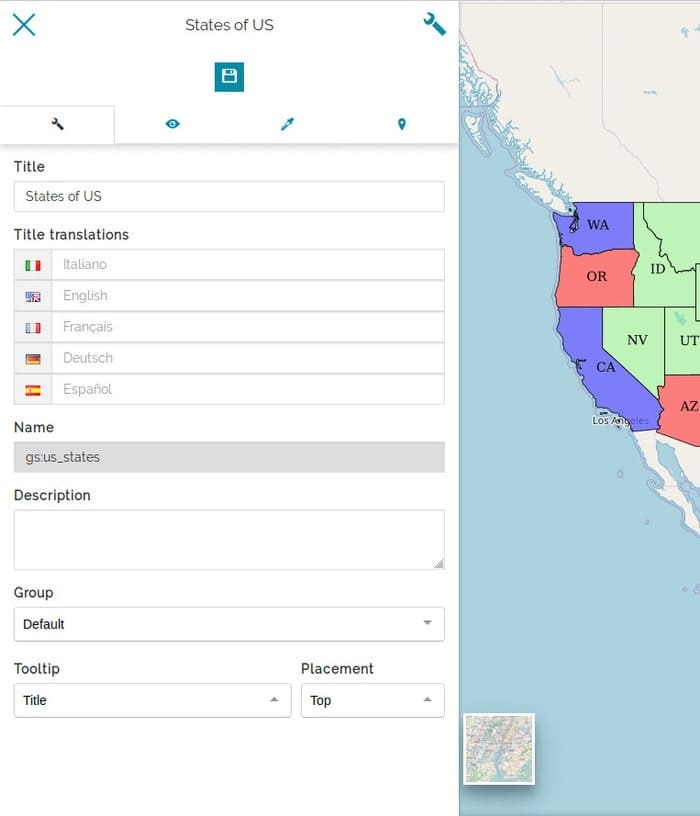
In this page it is possible to:
-
Change the Title
-
Set the Title translations, that will be switched by changing the language
-
Take a look at the Name of the layer
-
Edit the layer's Description
-
Set the layer Group
-
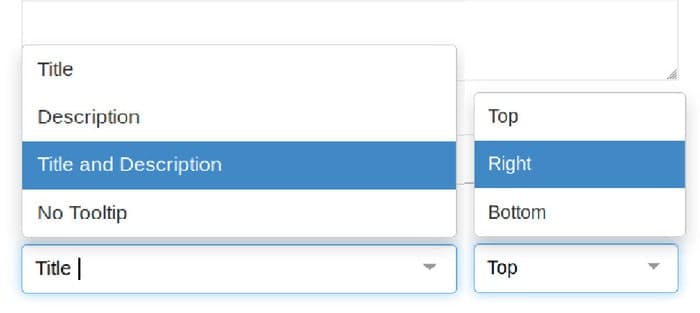
Configure the Tooltip that appears moving the cursor over the layer's item in TOC. In this case the user can decide that the Title, the Description, both or nothing will be displayed. Moreover you can set the Placement of the tooltip, choosing between Top, Right or Bottom:
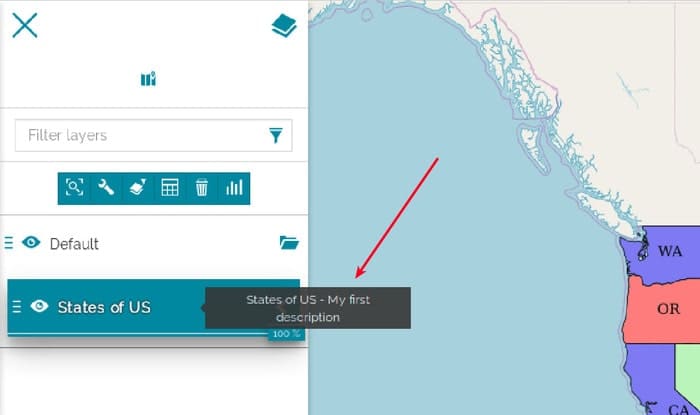
Setting a tooltip that shows the Title and the Description on the Right, for example, it can be similar to the following:
Display
Through the second section of the layer settings panel it is possible to change the display settings:
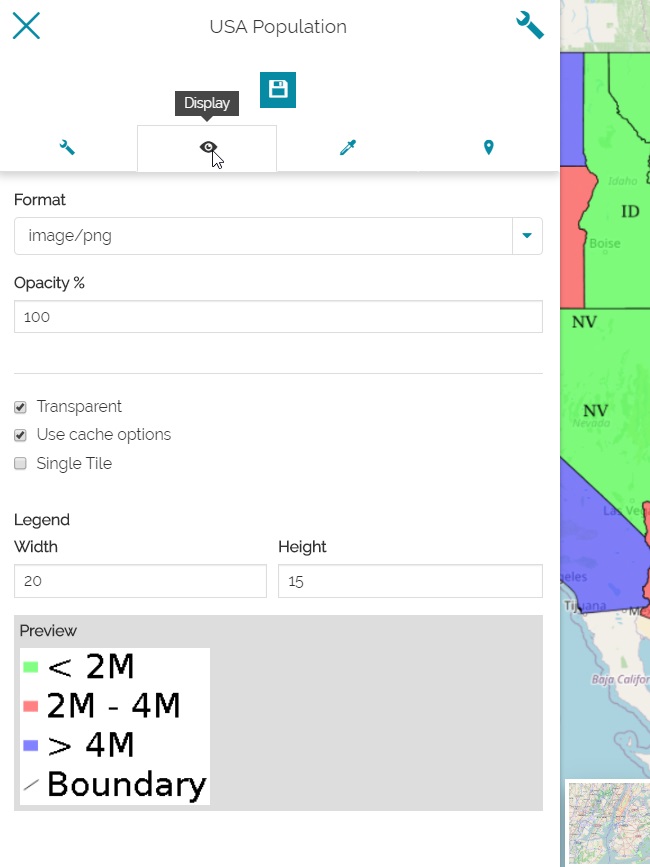
In particular, the user is allowed to:
-
Set the rendering image format (choosing between
png,png8,jpeg,vnd.jpeg-pngandgif) -
Set the opacity value of the layer (in %)
-
Enable/disable the transparency for that layer
-
Enable/disable the use of the layer cached tiles (if checked, the Tiled=true URL parameter will be added to the WMS request and to use tiles cached with GeoWebCache)
-
Decide to display the image as a single tile or as multiple tiles
-
Set the layer Legend with custom Width and Height options. Both of these field values if greater than the default legend's size of 12, then the custom values gets applied on the legend width and height display property
-
A preview of the legend is shown with the applied custom values from Legend fields above.
Style
The third section, dedicated to the layer style, displays like the following:
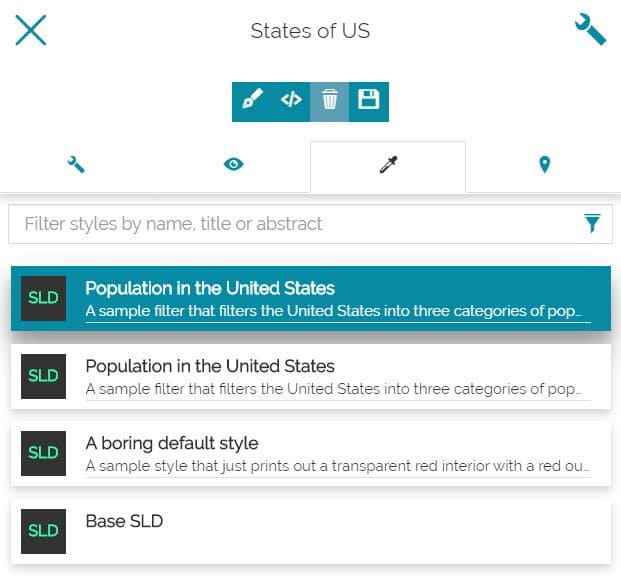
In this case the user is allowed to:
-
Search through the available layer styles and select the desired one
-
Create a new style
-
Edit an existing style
-
Delete an existing style
Note
By the default service security rules the GeoServer's REST APIs are available only for the GeoServer administrators, so a basic authentication form will appears in MapStore to enter the Admin credentials. Without Admin rights, the editing capabilities on styles are not available and only the list of available styles will appear to allow the user to select one of them to the layer.
Take a look at the User Integration with GeoServer section of Developer Guide in order to understand how to configure the way MapStore and GeoServer share users, groups and roles. If the users integration between GeoServer and MapStore is configured, the editing functionalities of the styles will be available according to the role of the authenticated user in MapStore in a more transparent way.
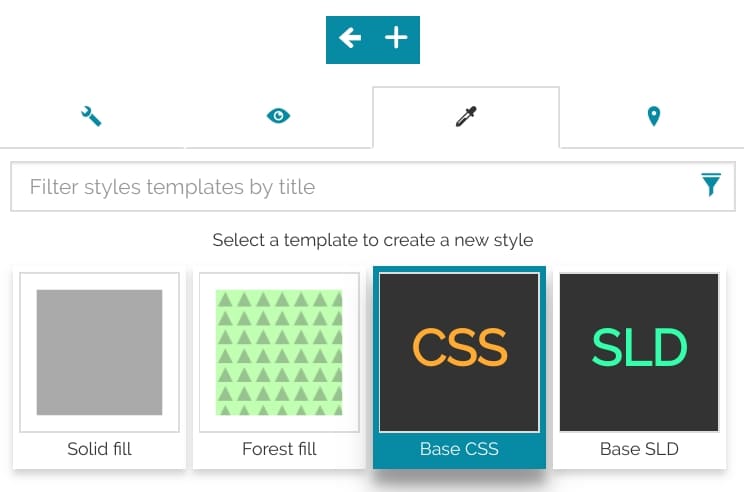
Create a new style
It is possible to create a new style with a click on the  button. At this stage the user can choose between different types of template from which the customization will start:
-
CSS - Cascading Style Sheet (a language used for describing the presentation of a document written in a markup language like the HTML)
-
SLD - Styled Layer Descriptor (an XML schema specified by the Open Geospatial Consortium OGC for describing the appearance of map layers)
Note
The availability of the style formats depends, firstly, from the GeoServer. MapStore, by default, will add all the supported format that the server provides. To edit or create styles using the CSS format the CSS extension must be installed in GeoServer
Once the new style is chosen, with a click on the  button the following window opens:
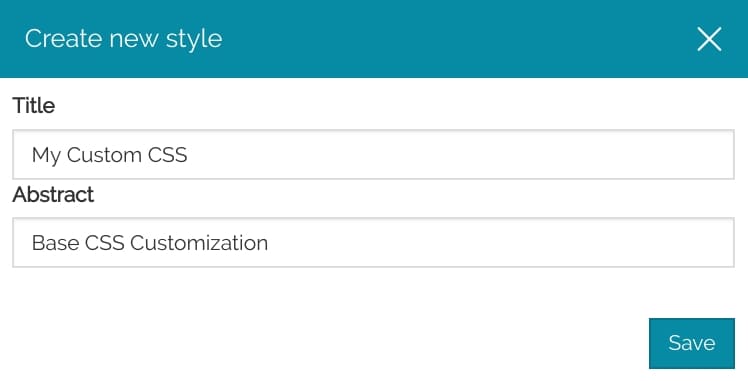
Here the user can set the Title and the Abstract (optional), and through the Save button the new style will be automatically added to the styles list.
Edit an existing style
Existing styles can be edited clicking on the  button. The page that opens allows the user to customize the style in the related format:

The editor is easy to approach thanks also to the following functions:
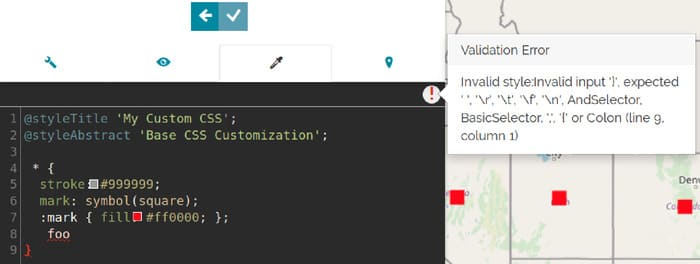
- The sintax control highlights any possible error with a red underline (if error are detected an icon with a red exclamation point
 will be shown in the top-right side of the editor)
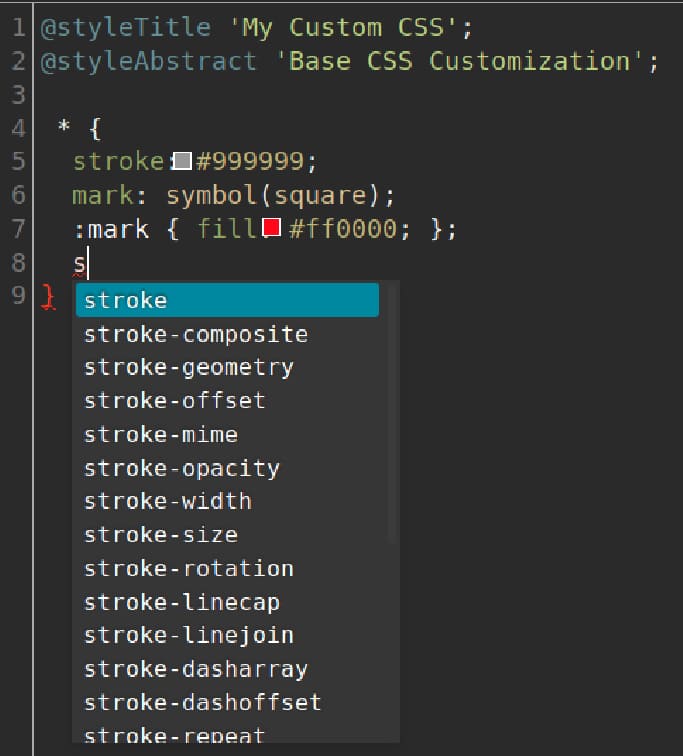
- The autocomplete function suggests the possible style's properties in order to prevents syntax errors:
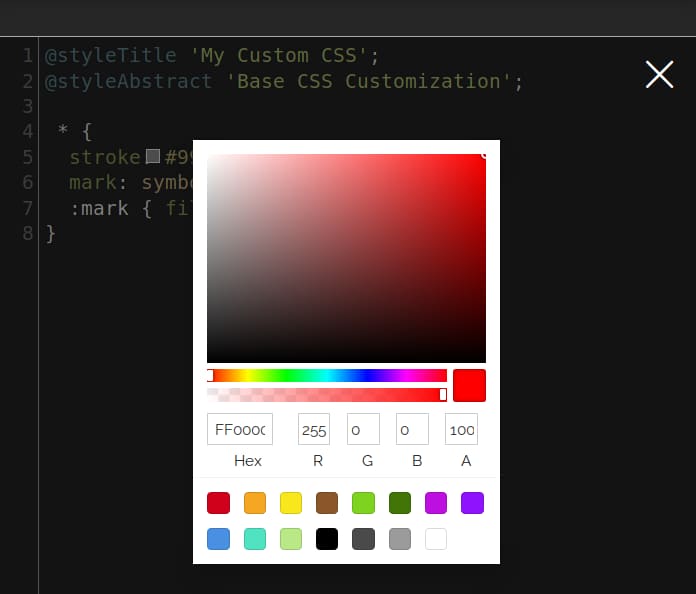
- The color picker, that can be activated through the square filled icon (
 ) near the color code, helps in choosing colors directly from the editor, showing an interface like the following:
Warning
The autocomplete and the color picker functions are available only in the CSS editor.
Feature Info Form
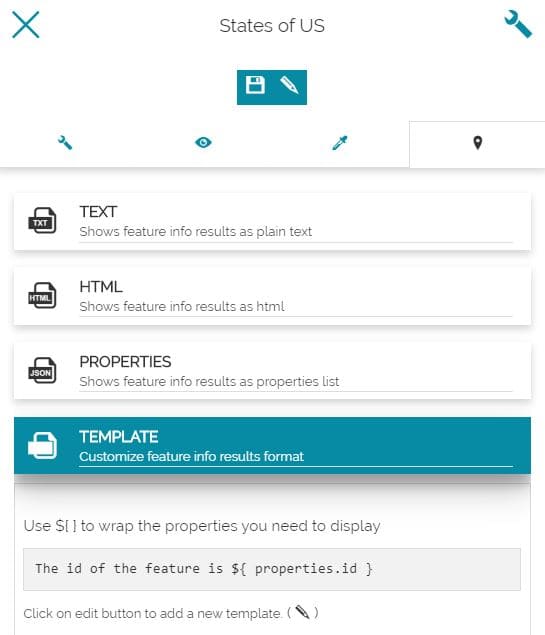
Through the last section of the layer settings panel, it is possible to decide the information format that appears querying a layer with the Identify Tool:
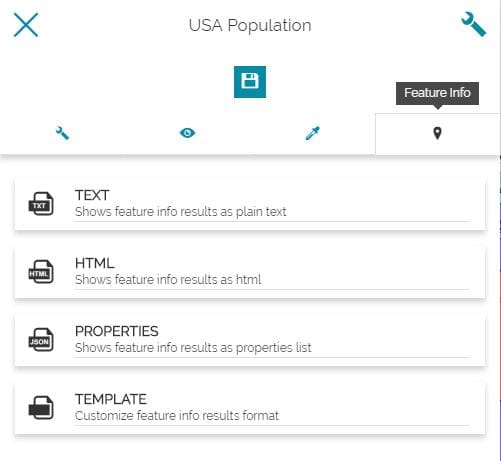
In particular, the user can choose between:
-
Text
-
HTML
-
Properties
-
Template
Note
Without selecting any format here, the Identify Tool will return the layers information with the format chosen in Map Settings (a Burger Menu option). Once a user specifies the information format in layers settings, instead, that format will take precedence over the map settings only for that specific layer.
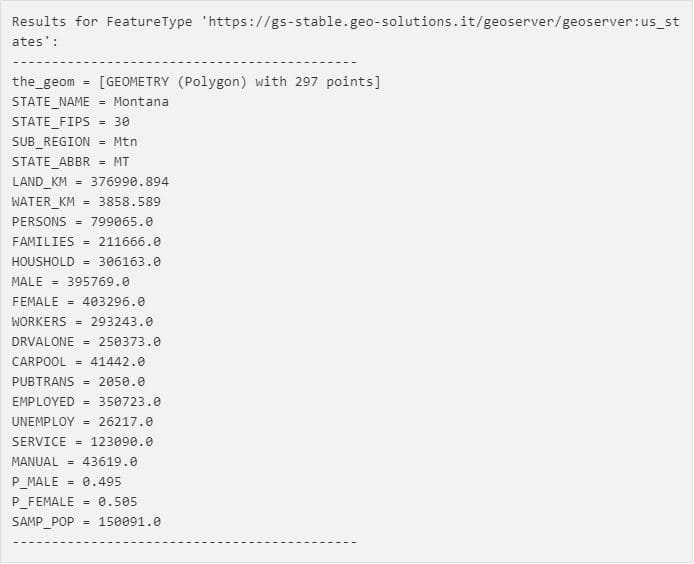
Text
An example of layer information in text format can be:
HTML
An example of layer information in HTML format can be:

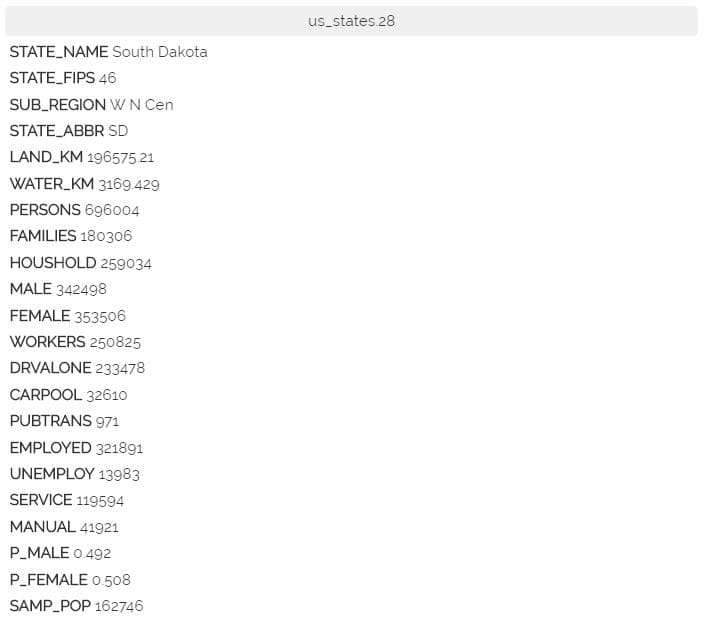
Properties
An example of layer information in properties format can be:
Templates
In this case the user can customize the information format:
In particular, by clicking on the  button, the following text editor appears:
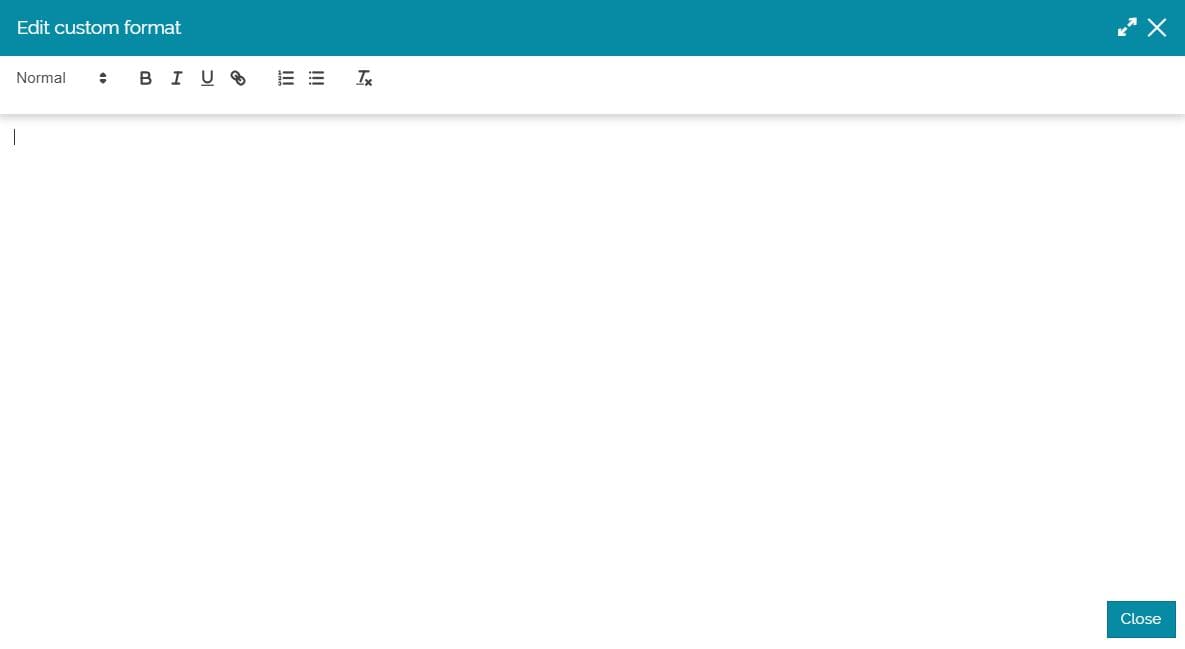
Here it is possible to insert the text to be displayed through the Identify Tool, with the possibility to wrap the desired properties.
Let's make an example: we assume to have a layer where each record corresponds to a USA State geometry in the map. In the Attribute Table of this layer there's the STATE_NAME field that, for each record, contains a text value with the name of the State.
If the goal is to show, performing the Identify Tool, only the State name, an option could be to insert the following text on the Template text editor:

In this case, by clicking on the map, the Identify Tool returns:
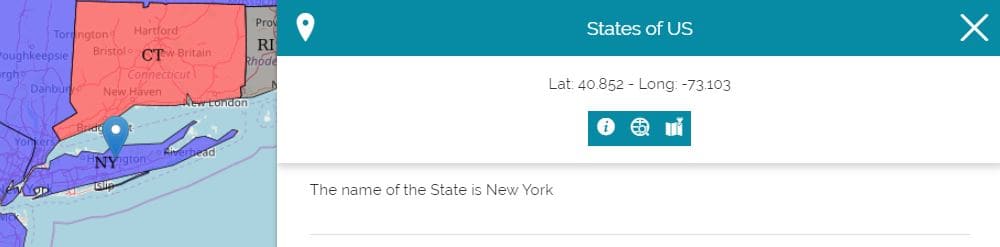
Using the ${properties.NAME_OF_THE_FIELD} syntax, MapStore is able to parse the response to the Identify Tool request by matching the configured placeholder.